Team Collaboration
Inoscope supports multi-user collaboration so your team can work together on assessments and properties.
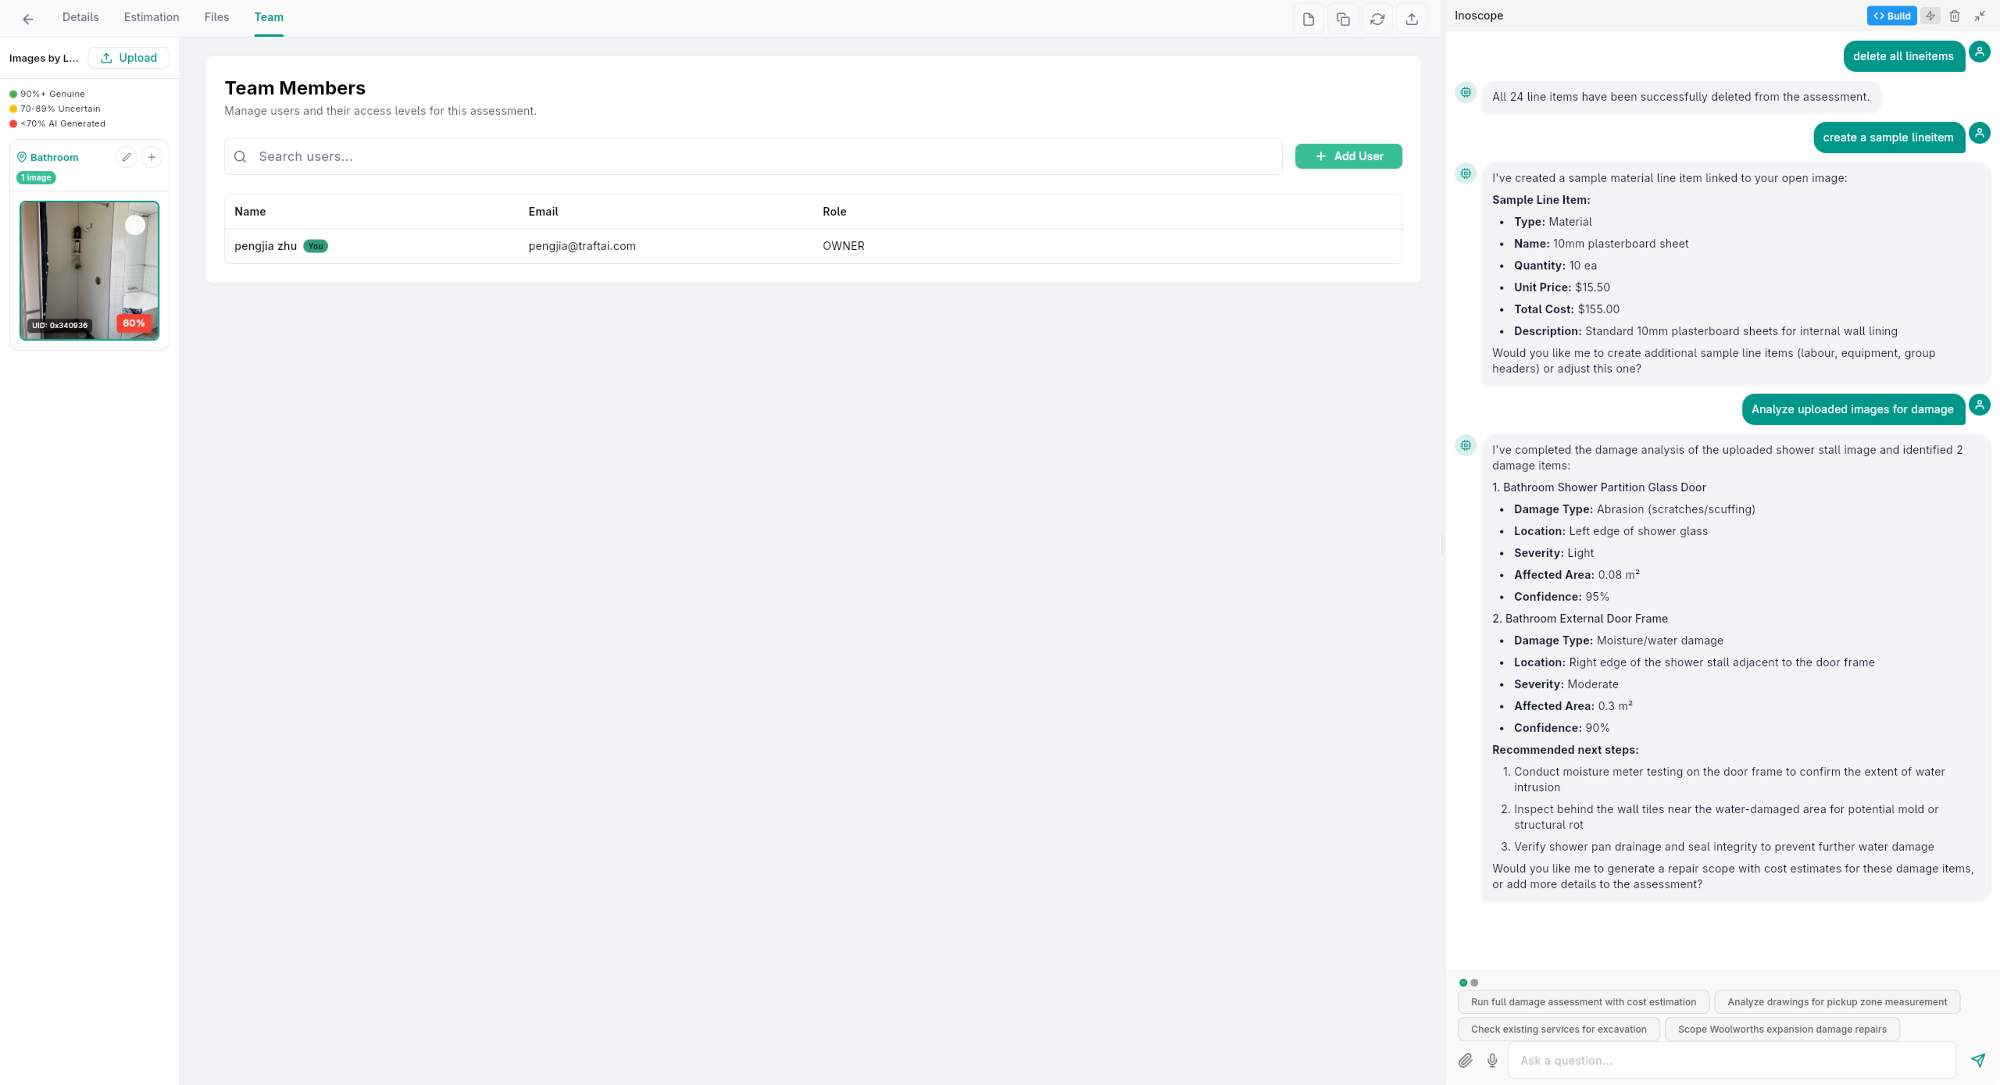
Adding Team Members
To an Assessment
- Open the assessment.
- Go to the Team tab.
- Click Add Member.
- Search for or select the team member.
- Assign a role.
To a Property
- Open the property detail screen.
- Go to the Team tab.
- Click Add Member.
- Select the team member and assign a role.
Roles and Permissions
| Role | View | Edit | Delete | Manage Team |
|---|---|---|---|---|
| Owner | Yes | Yes | Yes | Yes |
| Admin | Yes | Yes | Yes | Yes |
| Editor | Yes | Yes | No | No |
| Contributor | Yes | Add only | No | No |
| Viewer | Yes | No | No | No |
Role Types
Roles can be assigned at different levels:
| Level | Scope |
|---|---|
| Assessment | Permissions for a specific assessment only |
| Property | Permissions for a property and its assessments |
| Company | Company-wide permissions across all properties and assessments |
Team Assessments
On the Dashboard, switch to the Team tab to see work from other team members in your company. This gives you visibility into:
- What your team is currently working on
- Assessment status across the team
- Overall workload distribution
Working Together
Shared Access
When you add someone to an assessment or property, they can:
- View all images and damage items (based on their role)
- See line items and cost estimates
- Access uploaded files and documents
- View the activity timeline
Using Inoscope AI Operator
Each user has their own conversation with Bee — Inoscope's autonomous AI Operator — in the Inoscope AI Operator panel (sessions are per-user). However, all changes Bee makes (creating damage items, line items, etc.) are visible to all team members with access.
Removing Team Members
- Open the assessment or property.
- Go to the Team tab.
- Find the team member to remove.
- Click Remove and confirm.
The removed member immediately loses access to the assessment or property.