Properties
Properties are the physical locations you inspect. Each property stores address details, construction info, contacts, documents, and links to all assessments performed there.
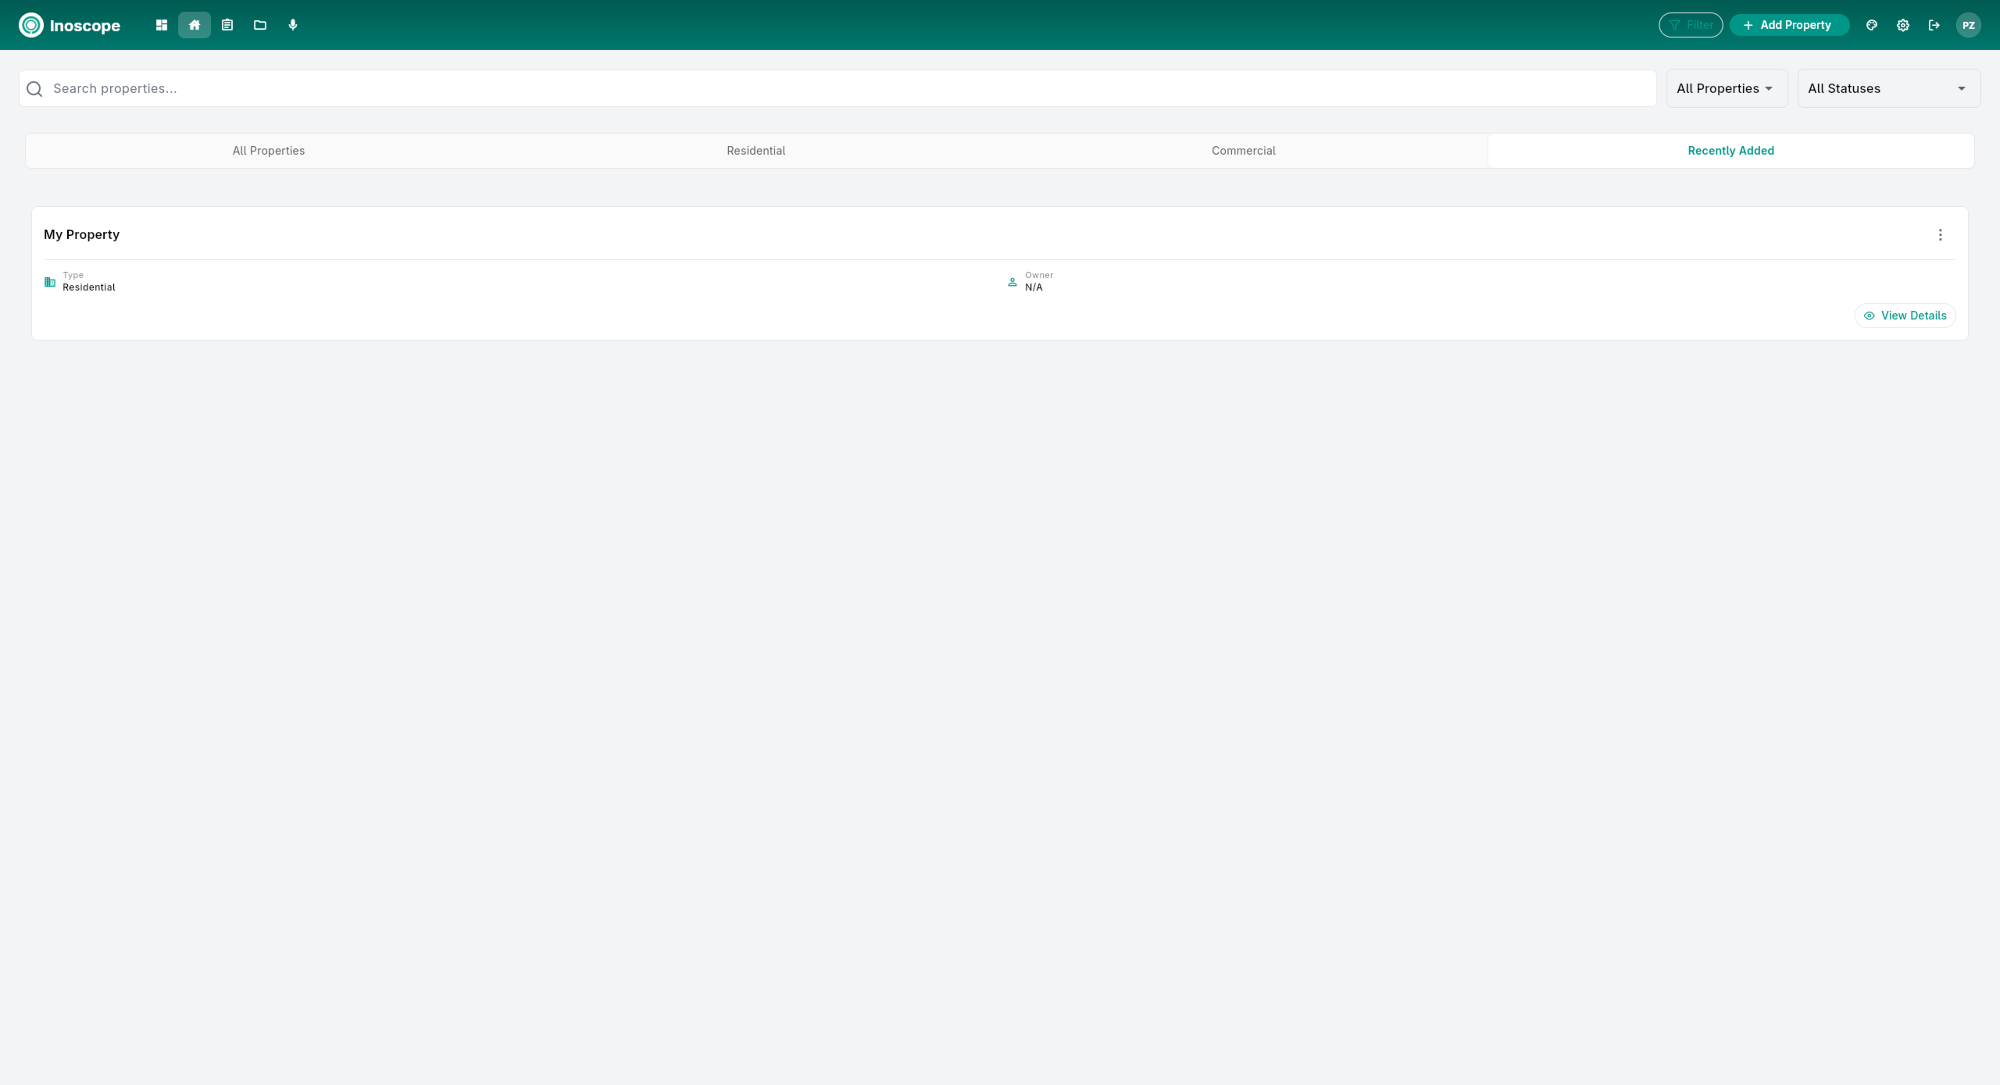
Properties Screen
The Properties screen shows all properties with 4 filter tabs:
| Tab | Shows |
|---|---|
| All | Every property in your account |
| Residential | Residential properties only |
| Commercial | Commercial properties only |
| Recently Added | Properties added most recently |
Searching Properties
Use the Search bar to find properties by name or address. Results update in real time.
Property Cards
Each card shows: property name, address, property type, and a View button to open it.
Creating a Property
Click + Add Property from the Properties screen (or create one inline during assessment creation).
A 3-step wizard guides you through:
Step 1 — Basic Info

Name, Address (with autocomplete), Property Type (Residential, Commercial, Industrial).
Step 2 — Details
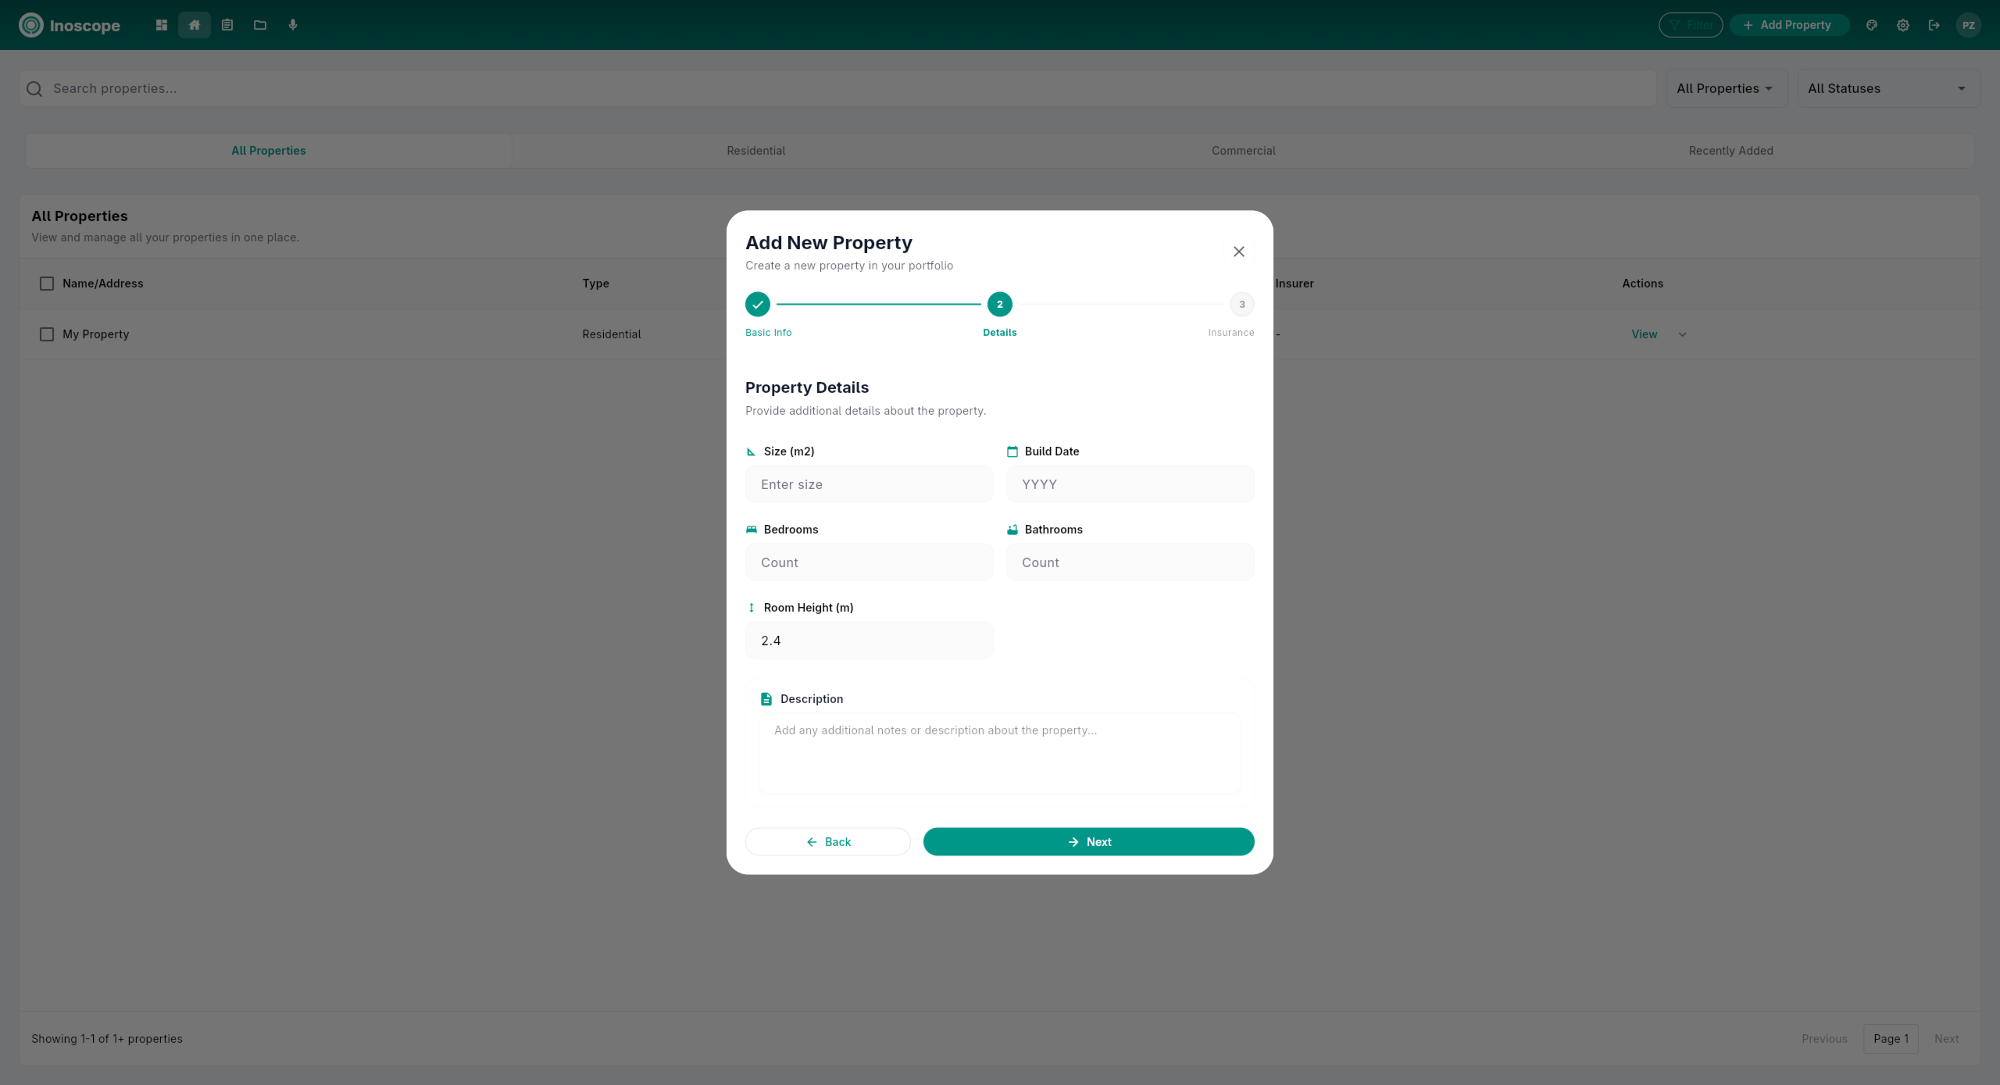
Size (m²), Bedrooms, Bathrooms, Build Date, Room Height (m), Description.
Step 3 — Insurance
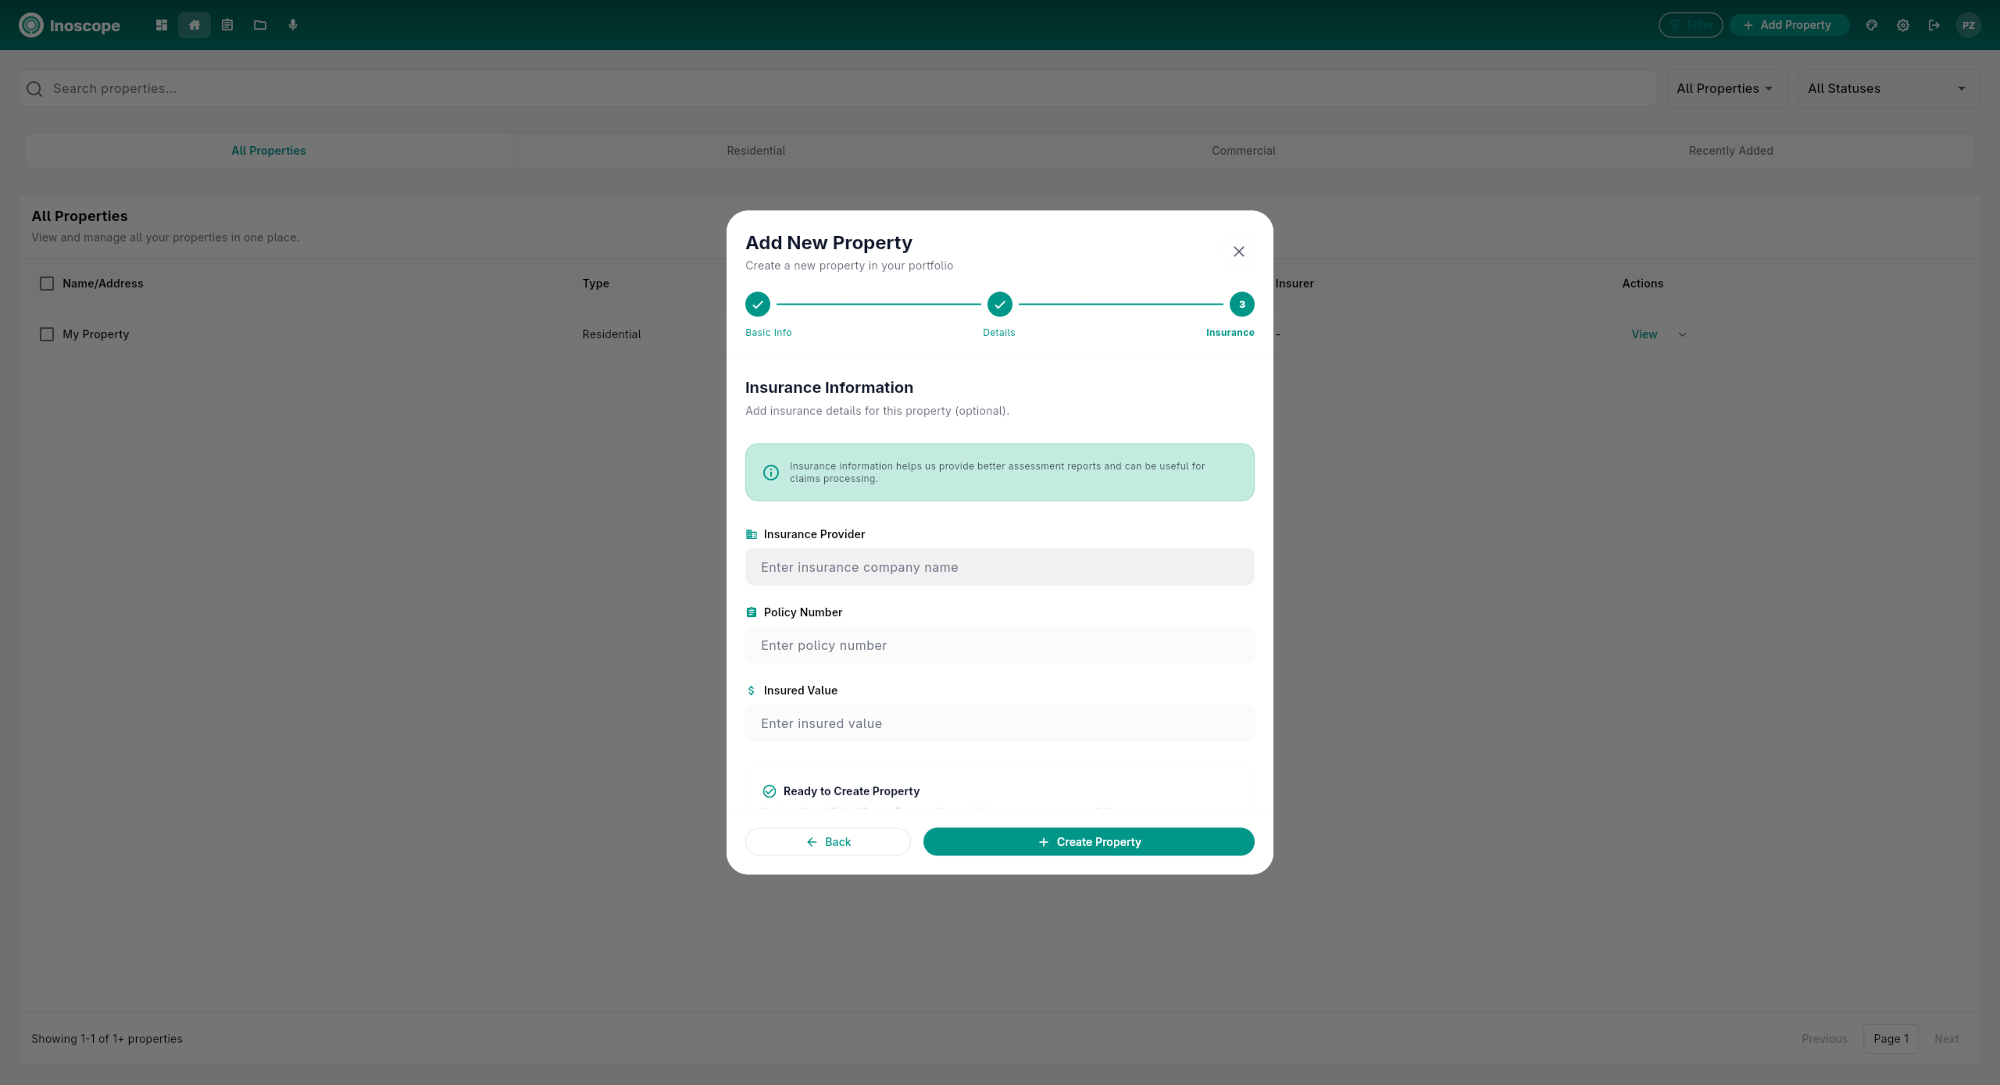
Insurance Provider, Policy Number, Insurance Value.
Click Create to save.
Property Detail Screen
Opening a property shows 5 tabs:
Details Tab
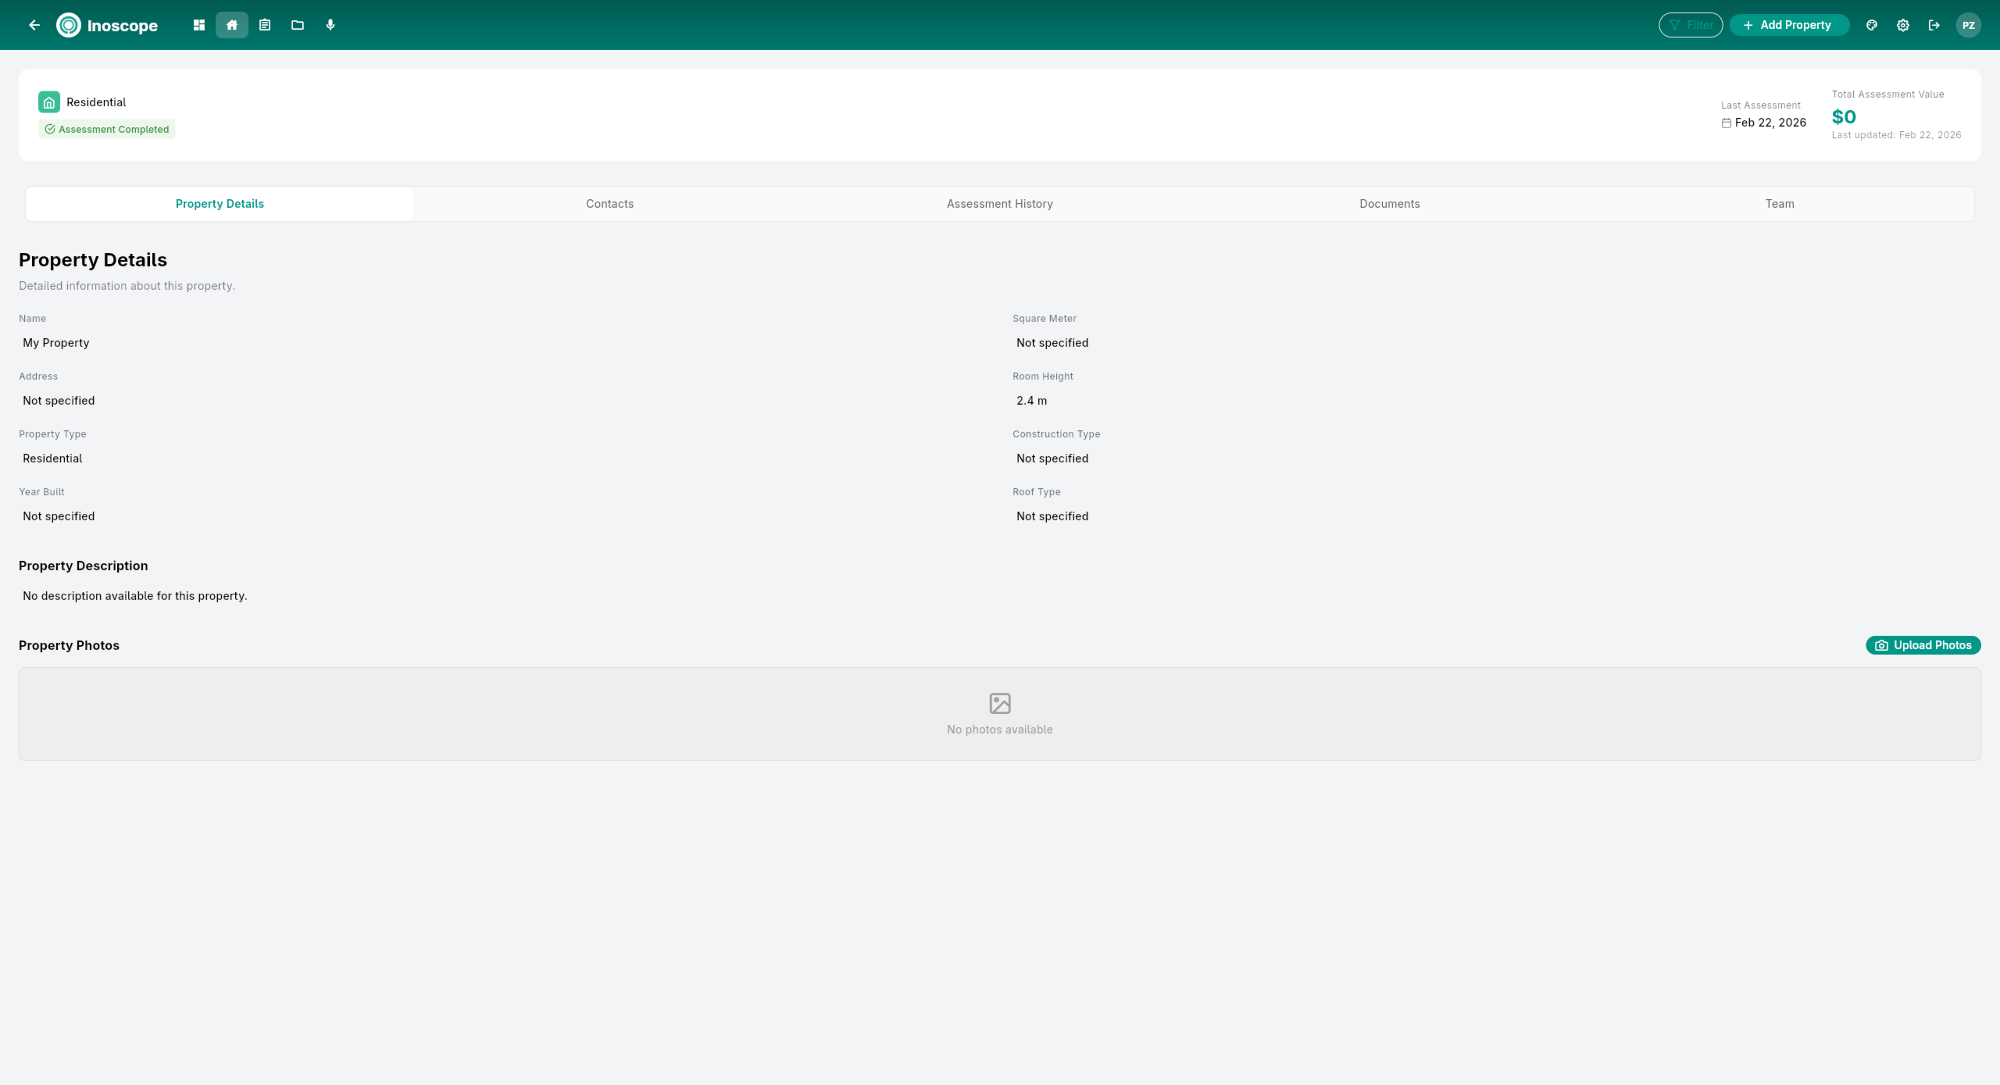
All property fields displayed in editable rows:
- Address and location
- Property type and size (m²)
- Bedrooms, Bathrooms, Build Date, Room Height
- Description
Click any field to edit it inline.
Contacts Tab
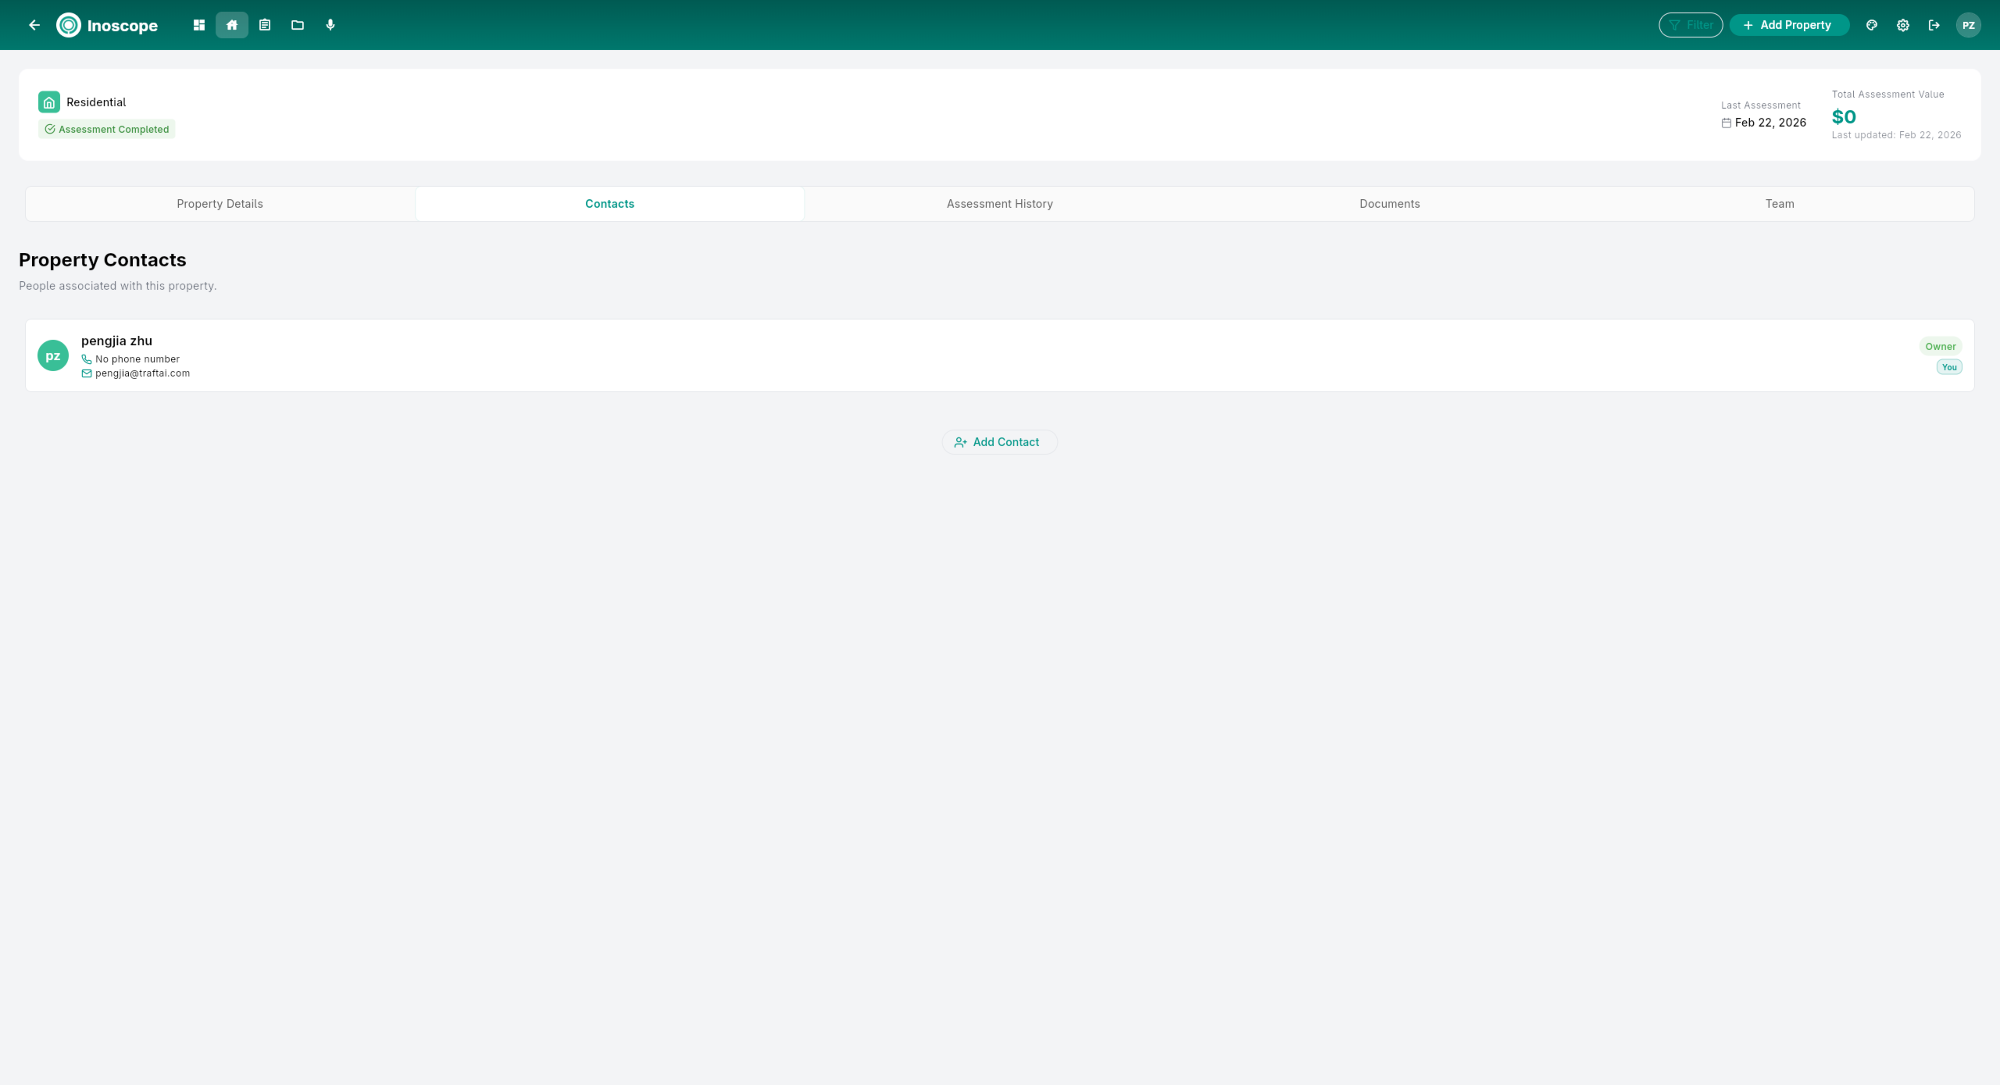
Manage people associated with the property. Click Add Contact to add someone with their name, role, phone, and email. Typical contacts: owners, tenants, insurance contacts, building managers.
Assessment History Tab
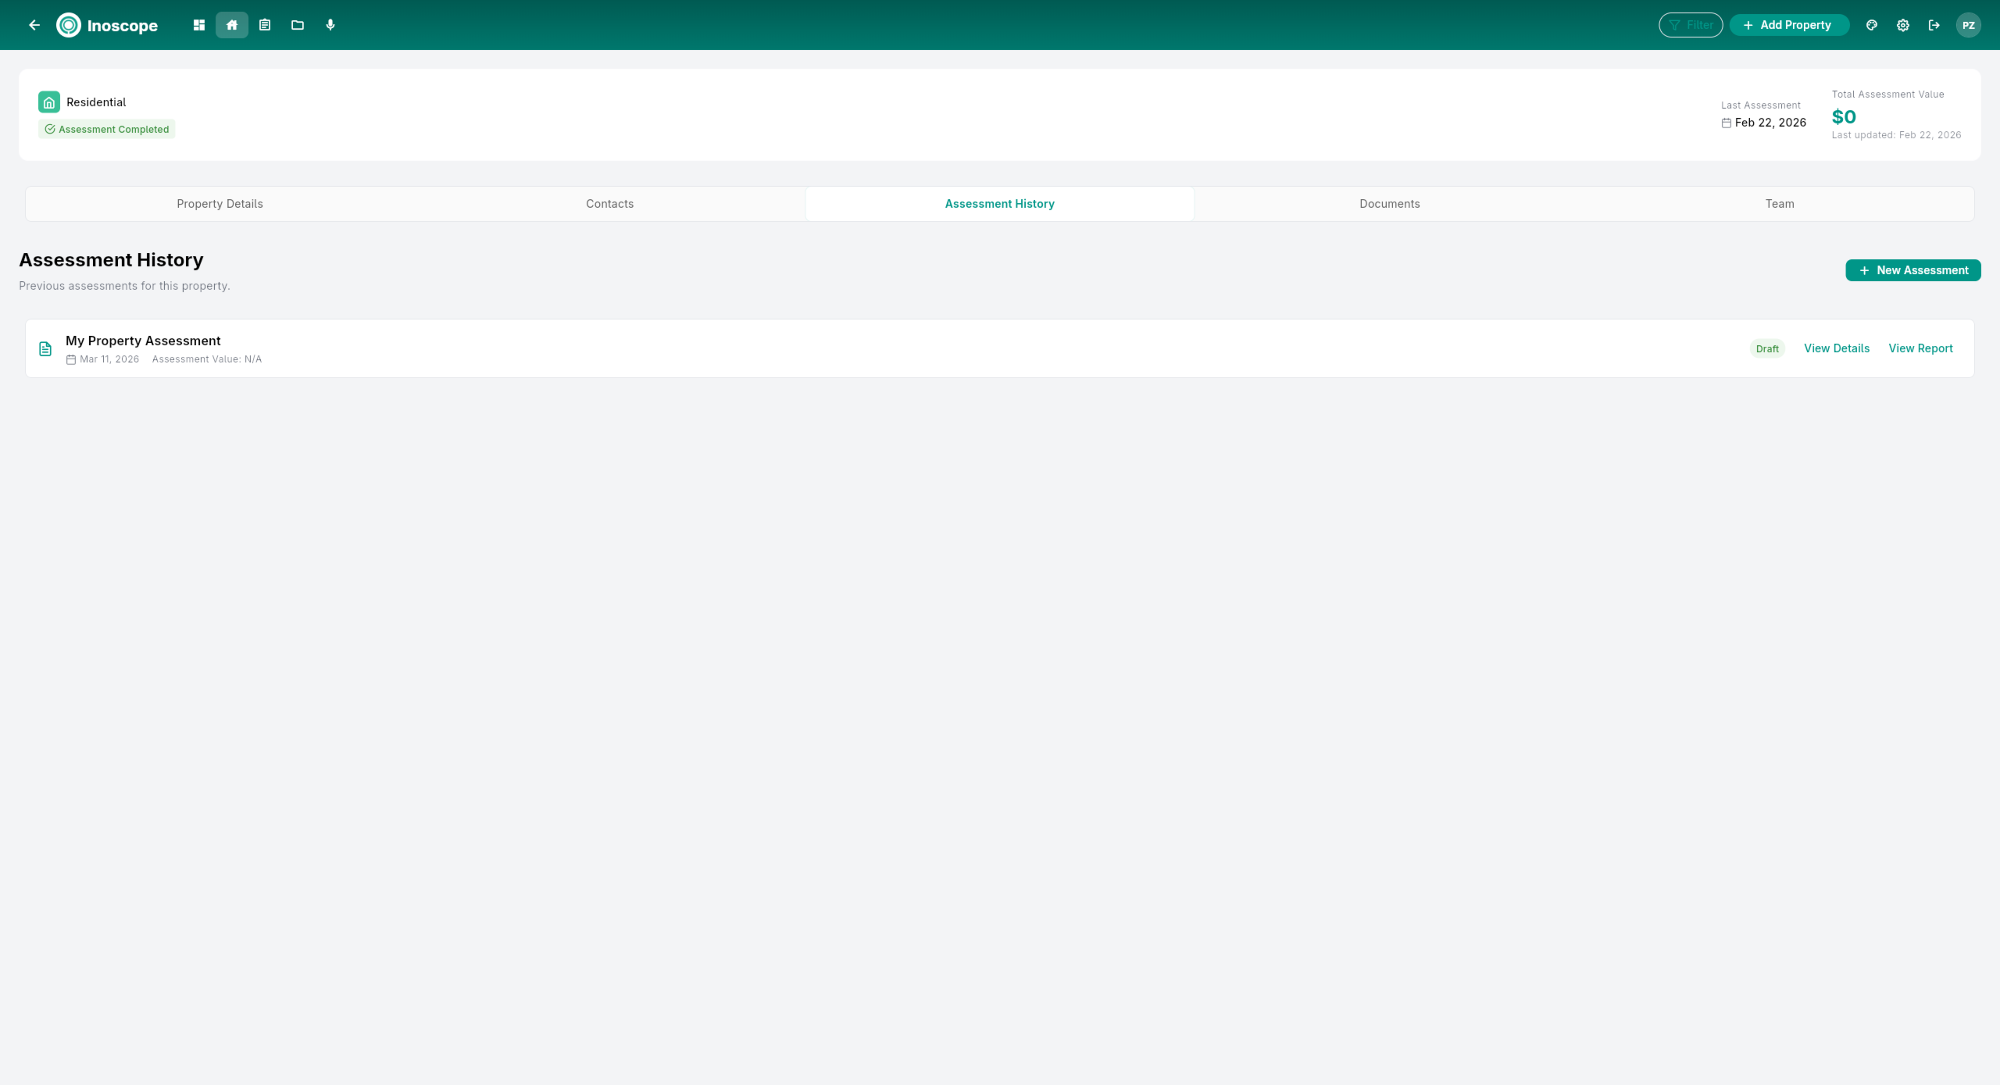
All assessments linked to this property in a timeline list. Each row shows: assessment name, type, date, status, and a View Details link to open it.
Documents Tab
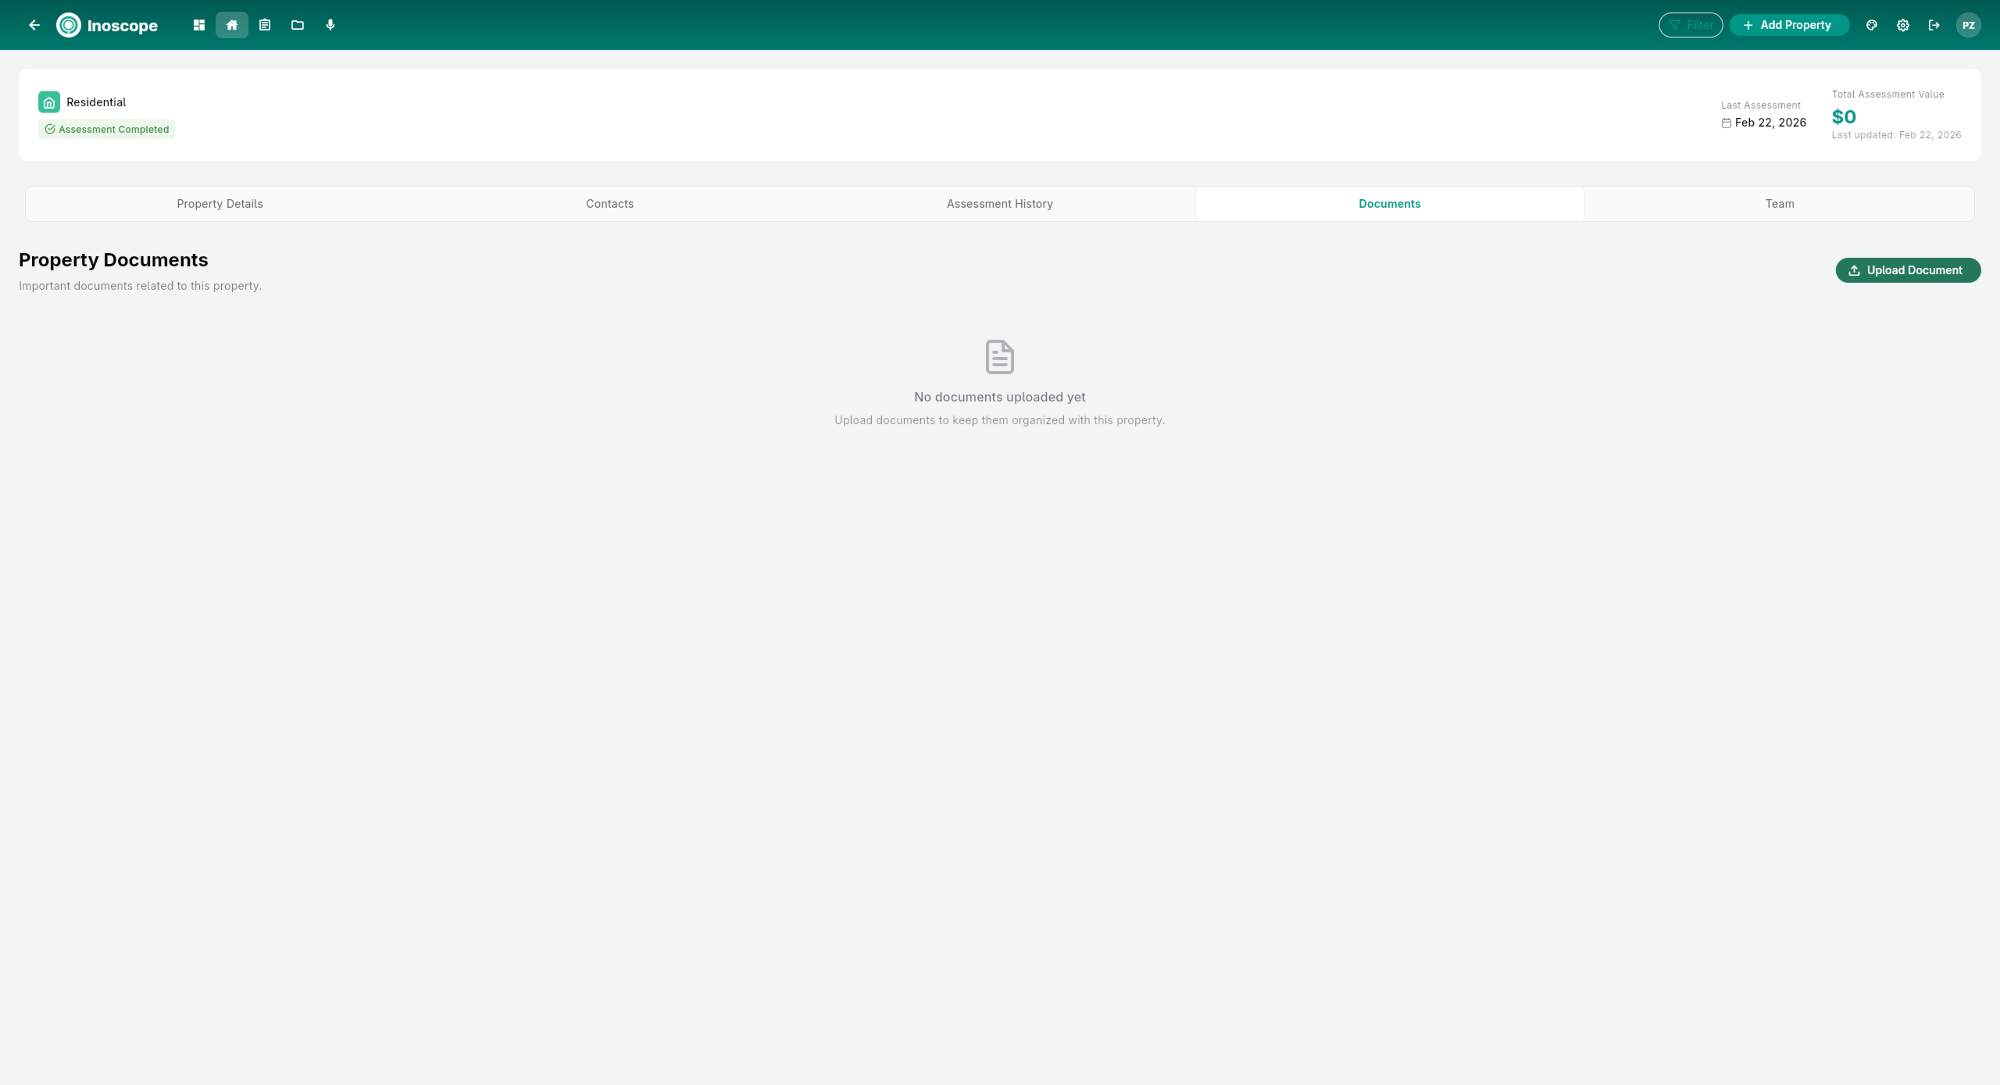
Upload and manage property-related files (floor plans, compliance certificates, insurance documents, previous reports). Click Upload to add files; click a document to download it.
Team Tab
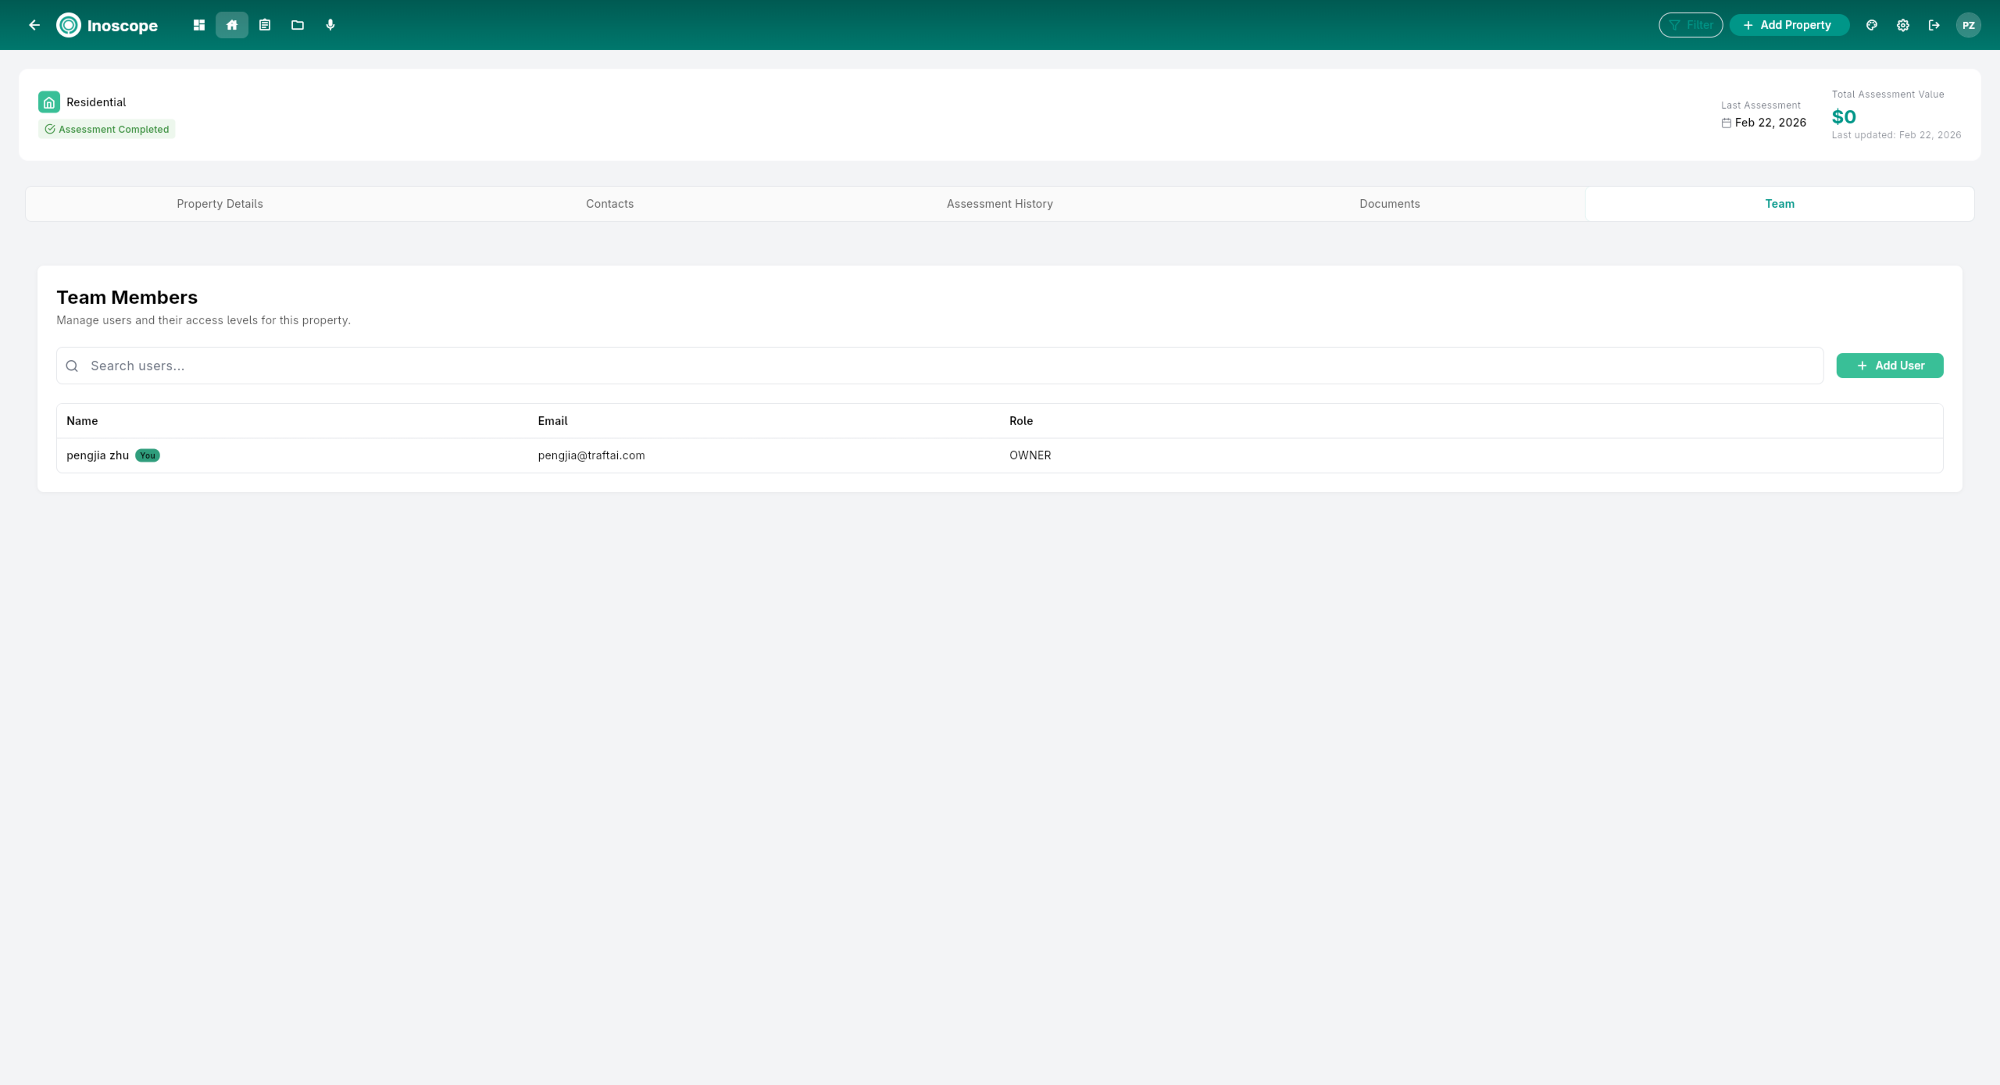
Manage who has access to this property. Click Add Member and assign a role (Owner, Admin, Editor, Viewer, Contributor). Team members can access the property and its assessments according to their role.
Editing a Property
Open the property and click any editable field or the Edit button. Changes save automatically.
Deleting a Property
Open the property detail screen, click Delete, and confirm. This does not automatically delete linked assessments.